At the end of the gardening season, when your crops yield their last produce, you can start preparing your soil for next spring. But how do you prepare your garden soil for next spring? Last September we cleared all the old plants, added some fresh soil, green manure, and fertilizer, and freshened up the mulch layer.
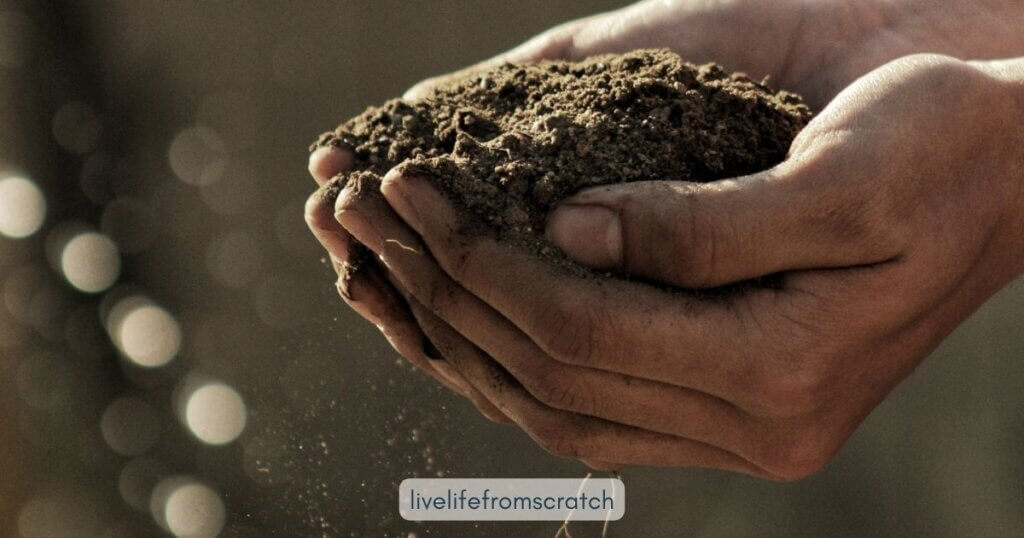
A successful garden begins with healthy soil. Whether you’re a seasoned gardener or a newbie, preparing your soil for the upcoming gardening season in spring is a crucial step to ensure your vegetables thrive. In this blog post, I’ll guide you through the steps to prepare your soil for a fresh start in the upcoming spring.
For starters, clear the garden!
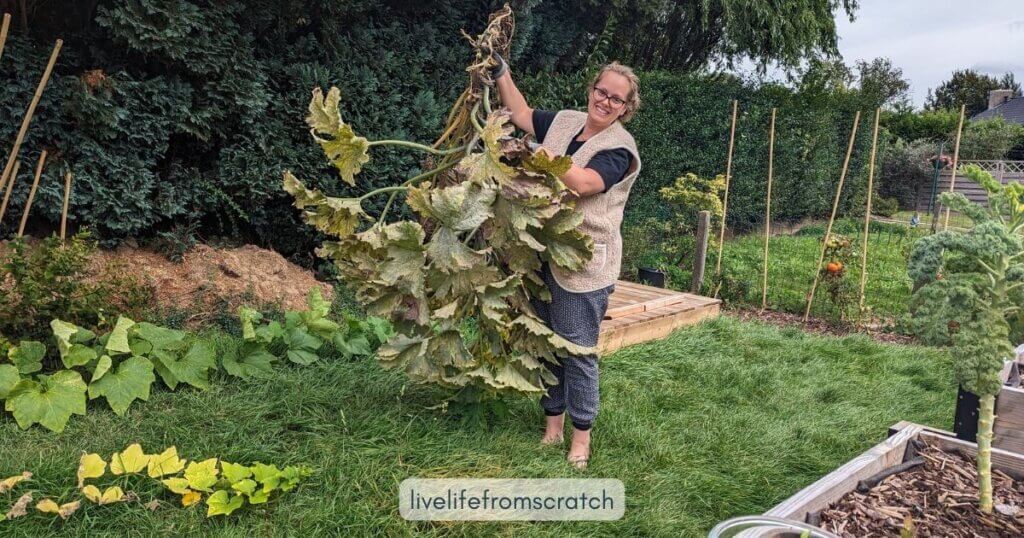
Before you can even think about preparing your soil, you need to clear your garden of debris and any leftover plants from the previous season. Remove any weeds, dead plants, and other organic matter that may have accumulated over the winter. This will help prevent pests and diseases from overwintering and ensure a clean slate for your new crops.
Grow your compost pile
By adding these materials to your composting pile you’ll ensure yourself of some black gold a.k.a. compost. Here’s a table that outlines what you can and cannot compost in your compost bin when clearing your vegetable garden at the end of summer:
| Compostable Materials | Non-Compostable Materials |
|---|---|
| Vegetable and fruit scraps | Diseased plants |
| Garden trimmings (leaves, stems, and small branches) | Weeds with mature seeds |
| Grass clippings | Invasive plants |
| Straw or hay | Coal or charcoal ash |
| Dry leaves | Large branches and woody materials |
| Small amounts of manure (from herbivores like cows, horses, rabbits, etc.) | Chemically treated wood or sawdust |
Keep in mind that successful composting requires a balance of green (nitrogen-rich) and brown (carbon-rich) materials. The green materials provide nitrogen and moisture, while the brown materials provide carbon and help with aeration. Mixing a variety of materials and maintaining the right balance will lead to effective decomposition and nutrient-rich compost for your garden. Also, avoid adding any materials that could introduce diseases or pests into your compost pile. Check a complete composting list here!
Test your soil
To determine your soil’s current condition and any deficiencies, consider getting a soil test. Many local agricultural extension services offer this service. The test will provide information on your soil’s pH level, nutrient content, and texture. With this data, you can make informed decisions about which soil amendments to use.
In general, performing a soil test will go as follows:
- Select the area of your garden that you want to test. If you have different sections with different soil conditions or plan to grow different types of plants, consider testing each area separately.
- Put on your gloves and ensure that all containers and tools are clean and free of contaminants. This helps prevent any interference with the test results.
- Use a shovel or trowel to collect soil samples from various spots within the chosen area. Collect samples from several locations, and aim for a total depth of 6-8 inches. Each sample should represent a roughly equal volume of soil from its respective location.
- Combine the collected soil samples in a clean container. Mix them thoroughly to create a homogenous blend. This will provide a representative sample for testing.
- If you are sending your sample to a soil testing laboratory, spread the mixed soil on a clean surface and allow it to air dry. This is not necessary for some DIY soil test kits.
- Follow testing kit instructions or package guidelines:
- Using a DIY test kit: Follow the instructions provided with the kit. Typically, you’ll add a specific amount of your soil sample to a test tube or container, mix it with a testing solution, and observe the color change to determine pH and nutrient levels.
- Sending to a soil testing laboratory: Package your soil sample as per the lab’s instructions. Some labs may provide a prepaid shipping envelope. You’ll receive results in a few weeks, usually in a report detailing pH, nutrient levels, and recommendations for soil amendments.
- Once you have your test results, interpret them to understand your soil’s pH and nutrient levels. The report should also provide recommendations for any necessary soil amendments to optimize your soil for plant growth.
- Based on your test results, follow the recommendations provided by the testing kit or the laboratory. This might involve adding lime to adjust the pH or specific fertilizers to address nutrient deficiencies.
Performing a soil test is an essential step in maintaining a healthy garden, as it allows you to tailor your soil management practices to the specific needs of your plants, leading to better growth and higher yields.
If you prefer not to purchase a soil test kit, you can perform these DIY soil tests using basic supplies commonly found in your kitchen cabinet.
Adjust the pH levels of your soil
Most vegetables prefer slightly acidic soil with a pH range of 6.0 to 6.8. If your soil pH falls outside this range, you may need to make adjustments. To raise the pH (make it more alkaline), you can add lime. To lower the pH (make it more acidic), you can use sulfur. Follow the recommendations from your soil test to adjust your soil’s pH as needed.
Raise the pH (make the soil less acidic):
- To raise the pH (make the soil less acidic), you can add agricultural lime, also known as garden lime or calcium carbonate. The amount of lime to use depends on your soil type and the desired pH level. Follow the lime product packaging recommendations or those provided in your soil test results.
Lower the pH (make alkaline soil more acidic):
- You can add elemental sulfur to lower the pH (make the soil more acidic). The amount of sulfur needed depends on your soil type and the desired pH level. Follow the sulfur product packaging recommendations or those provided in your soil test results.
Incorporate the amendment:
- To adjust pH, evenly spread the lime or sulfur over the soil surface.
- Use a garden fork, hoe, or tiller to incorporate the amendment into the top 6-8 inches of soil. Work it thoroughly to ensure even distribution. This helps the amendment react with the soil over time.
Adding organic matter
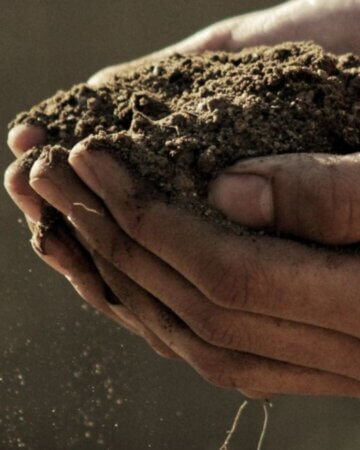
The addition of organic matter is key to improving soil structure, moisture retention, and nutrient availability. Compost, well-rotted aged manure, or other organic materials can be worked into the soil. Spread a layer (about 2-4 inches) over the garden bed and use a garden fork or tiller to incorporate it. This will also help improve drainage in heavy clay soils and water retention in sandy soils.
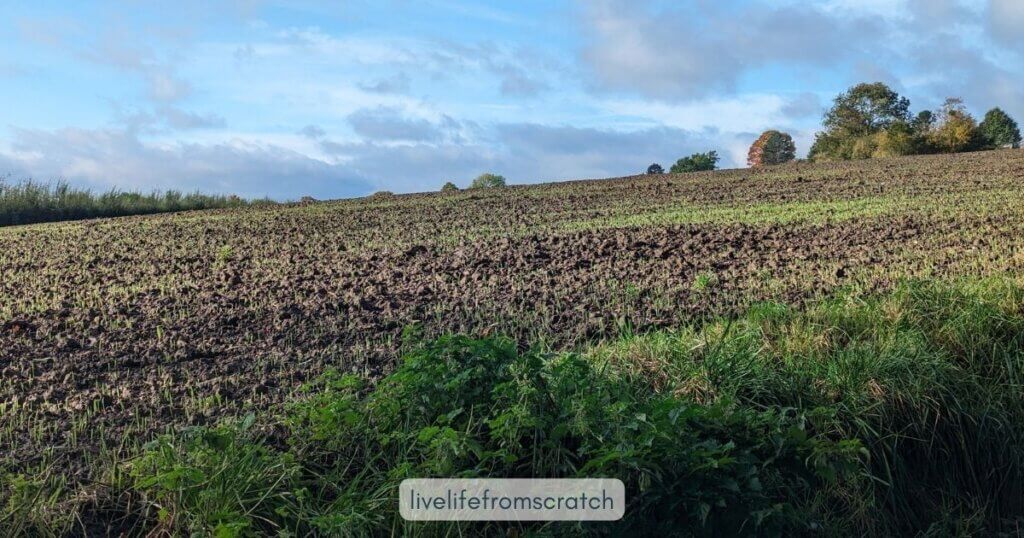
This year we’re using green manure for the first time. Green manure, also known as cover crops, is a type of crop planted specifically to improve soil health and fertility in a vegetable garden. Green manure plants are typically grown not for harvest but as a means to provide a range of benefits to the garden soil.
What is green manure?
Green manure is a practice in which specific plant species are grown and then incorporated into the soil while they are still green and actively growing. These plants serve several important purposes:
- Green manure crops improve soil structure, fertility, and overall health. They enhance nutrient availability, microbial activity, and water retention.
- Dense green manure cover crops can help smother and suppress weeds, reducing the need for manual weeding.
- Green manure plants protect the soil from erosion, especially during heavy rains or windy conditions.
- Certain green manure crops, such as legumes (e.g., clover and vetch), can fix atmospheric nitrogen, enriching the soil with this essential nutrient.
How to use green manure in a vegetable garden
- Select the right cover crop:
- Choose a green manure crop that suits your garden’s needs. Common options include clover, vetch, rye, buckwheat, mustard, and field peas.
- Select crops based on the specific benefits you want to achieve. For example, legumes (like clover) are great for nitrogen fixation, while non-legume crops (like rye) can improve organic matter content.
- Planting:
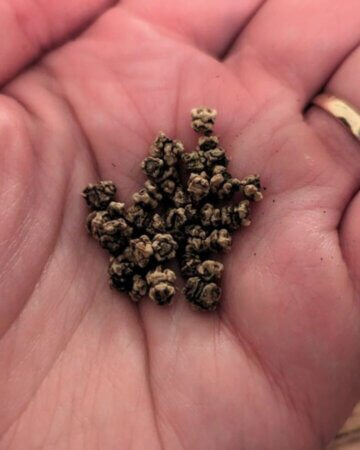
- Sow the green manure seeds following the recommended planting guidelines for the chosen crop. This is often done in the late summer or fall, depending on the region and the crop selected.
- Follow spacing recommendations for proper growth and coverage.
- Growth and maintenance:
- Allow the green manure crop to grow and develop. Some cover crops may need occasional maintenance, such as mowing or tilling, to prevent them from going to seed and becoming weedy. Note, if your green manure goes into seed it can spread beyond the designated area and take over parts of your garden where you don’t want it to grow.
- Incorporate cover crops into the soil:
- Before your vegetable planting season begins, typically in early spring, incorporate the green manure crop into the soil.
- Cut or mow the green manure crop, and then work it into the soil to a depth of about 6-8 inches. This can be done using a shovel, garden fork, or a tiller.
- The decaying plant material will break down, adding organic matter to the soil, releasing nutrients, and improving its structure.
- Plant your vegetables:
- After incorporating the green manure, wait a few weeks to allow decomposition to occur. Then, plant your vegetables in the enriched soil.
Green manure is an effective and sustainable way to maintain and improve the health of your vegetable garden soil. By rotating cover crops with your vegetable crops, you can promote long-term soil fertility and productivity while reducing the need for chemical fertilizers and pesticides.
Apply mulch
After tilling in your organic matter, consider applying a layer of organic mulch. Mulch helps maintain soil moisture, regulate soil temperature, and suppress weeds. Straw, wood chips, or leaves can be used for mulching your garden beds. Apply a 2-3 inch layer, leaving a gap around the base of your plants.
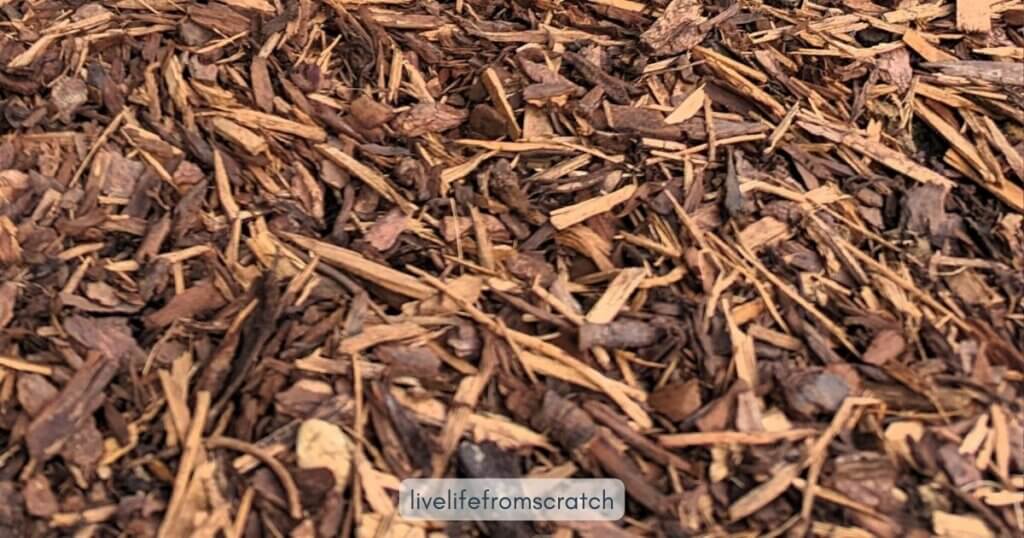
Using wood chip mulch in your vegetable garden can be a great way to retain moisture, suppress weeds, and improve soil health.
How to prepare your garden bed with old mulch
When it comes to preparing your soil for the next season, you have several options for dealing with wood chip mulch:
- In many cases, it’s perfectly fine to leave the wood chip mulch in place over the winter. It will continue to suppress weeds, protect your soil from erosion, and gradually break down, adding organic matter to the soil. By spring, the mulch will have partially decomposed and can be turned into the soil as a source of organic material.
- If the wood chip mulch is still relatively intact and you want to accelerate its decomposition, consider adding it to your compost pile. Mix the wood chips with green materials like kitchen scraps, grass clippings, or other nitrogen-rich materials. This will help balance the carbon-to-nitrogen ratio and speed up the decomposition process. Once it’s well-composted, you can use it as a nutrient-rich addition to your garden beds.
- If your wood chip mulch is too coarse or hasn’t decomposed significantly, consider using it as mulch for pathways between garden rows. This can help reduce mud and soil compaction, making it easier to access your garden beds during wet periods. It’s a practical way to make use of the mulch and enhance the functionality of your garden.
Leaving the mulch in place
As mentioned in the first option, by spring, the wood chip mulch will have started to break down. You can then incorporate it into the soil when you prepare your garden for the next season. Use a garden fork or tiller to mix the decomposed mulch into the top layer of your soil. This will improve soil structure and add organic matter, which is beneficial for plant growth.
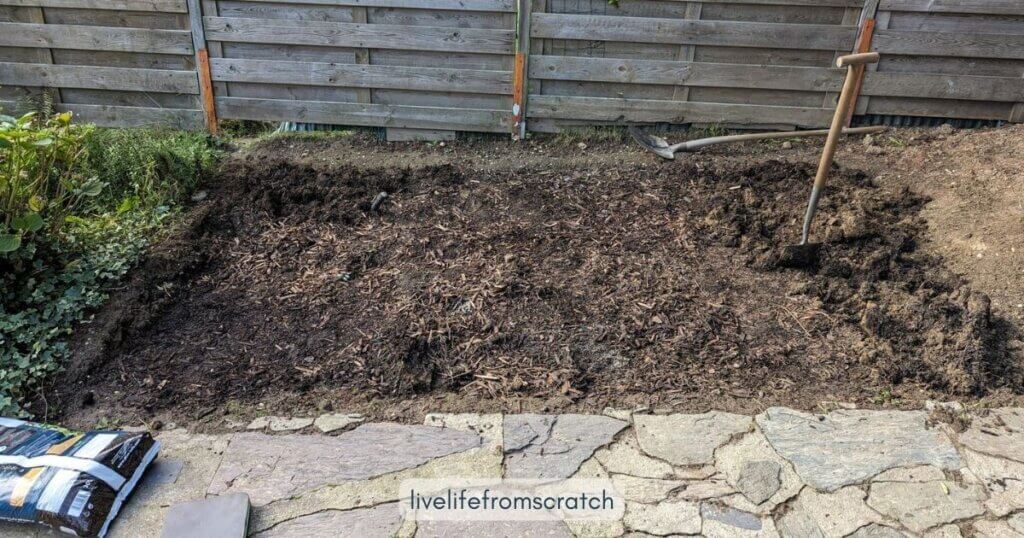
If your wood chip mulch has decomposed significantly, you can simply add a fresh layer of mulch over the top before planting your new crops. This helps maintain weed suppression, moisture retention, and temperature regulation in the soil. Just be sure to leave a gap around the base of your plants to prevent excess moisture from reaching the stems, which can lead to rot.
Remember that the choice of what to do with your wood chip mulch largely depends on its condition, your gardening preferences, and the specific needs of your garden. Ultimately, any of these options can contribute to healthier soil and a more productive vegetable garden in the next season.
Fertilize the soil in your garden
Based on your soil test results, you may need to add specific fertilizers to meet your vegetable crop’s nutrient requirements. In general, a balanced, all-purpose fertilizer with a ratio of 10-10-10 can be used if you’re unsure about the specific needs of your crops. Follow the recommended application rates on the product label.
- You can choose between synthetic (chemical) or organic fertilizers. Organic options include compost, well-rotted manure, and natural materials like bone meal and blood meal. Synthetic fertilizers are chemical compounds specifically formulated to deliver certain nutrients.
- Pay attention to the N-P-K (Nitrogen-Phosphorus-Potassium) values on fertilizer labels. These values indicate the percentage of each nutrient in the fertilizer. Different plants have different nutrient requirements, so select a fertilizer with the appropriate N-P-K ratio for your garden.
- Generally, it can be stated that a nitrogen-rich fertilizer promotes the growth of a plant’s foliage. If your goal is to encourage your plants to prioritize fruit production, a fertilizer with a higher phosphorus and potassium content will supply the necessary nutrients.
When to apply fertilizer
- Timing is important. Fertilize at the right time based on the needs of your plants.
- Apply some fertilizer to your garden beds before planting to provide a good nutrient base.
- For many vegetables and annuals, side-dress with fertilizer when the plants are actively growing. Side-dressing involves sprinkling the fertilizer in a band around the plants but not touching their stems.
Avoid over-fertilization
- Over-fertilization can harm your plants and the environment. Follow recommended application rates and avoid using more fertilizer than necessary. Excess fertilizer can lead to nutrient imbalances, water pollution, and environmental damage.
Choose the right location
When preparing your garden at the end of the season, for the next growing season, it’s a perfect time to reflect. What went well, what could be improved, which crops could have a better spot in your garden, and how can you maximize your produce yield next season? Now is the best time to make changes in your garden for next season.
One thing you could change is the location of your garden beds. Make sure they are positioned to receive adequate sunlight and are well-drained. Proper drainage is crucial to prevent waterlogged soil, which can lead to root rot in your vegetable plant roots. Also, don’t forget to check the sunlight requirements of the specific vegetables you plan to grow.
Loosening up your garden soil
As mentioned earlier, loose soil is highly favored by most vegetable plants. Root crops, like beetroots and carrots, particularly thrive in sandy soil. Planting these vegetables in clay soil can hinder their growth, as they struggle to penetrate the dense earth. When grown in sandy soil, the looser texture allows beets and carrots to establish themselves and grow more freely, providing them with the space they need to thrive in the soil.
Four ways to loosen up your garden soil:
- Adding organic matter to your soil is one of the best ways to improve its texture and drainage. Compost, well-rotted manure, leaf mold, and other organic materials break up compacted soil, increase its water-holding capacity, and provide essential nutrients for plant growth. Spread a layer (2-4 inches) of organic matter over the garden bed and work it into the soil with a garden fork or tiller.
- Raised beds provide better drainage than ground-level planting. They can be filled with well-draining soil and organic matter to create an optimal growing environment for your vegetables. Raised beds also warm up faster in the spring, extending the growing season.
- Rotating your crops from year to year can help prevent soil compaction and the buildup of soilborne pathogens, reducing the risk of root rot. Different plant families have varying root structures and nutrient needs, so changing the location of your vegetables annually can improve soil health.
- No-till gardening involves minimizing soil disturbance to avoid compacting the soil. Instead of turning the soil over with a tiller, simply add compost and other amendments to the top layer of soil. Over time, this approach builds a healthy, loose topsoil layer, preventing compaction and improving drainage.
Well-draining soil
Good garden practices, such as proper watering and avoiding overwatering, can also contribute to preventing root rot. Well-draining soil is essential, but it’s equally important to maintain a consistent moisture level appropriate for the specific needs of your vegetables. Root rot is often a result of soil that remains excessively wet for extended periods, so monitor your watering habits to keep your garden soil in optimal condition.
Preparing your soil for the spring season is an investment in the success of your vegetable garden. By clearing the garden, adjusting pH levels, adding organic matter, mulching, and fertilizing, you’ll create the ideal conditions for your vegetables to thrive. Remember that each crop may have specific requirements, so research your chosen vegetables and tailor your soil preparation accordingly. With a little effort and planning now, you’ll be rewarded with a bountiful harvest in the coming spring. Happy gardening!



Leave a Reply