How to Make Homemade Cream Cheese (Just 2 Ingredients!)
This post may contain one or more affiliate links, which means I will get a small commission when you buy a product via the provided link at no cost to you! As an Amazon Associate, I earn from qualifying purchases. See my full disclaimer here.
Why Make Cream Cheese at Home?
Have you ever found yourself halfway through a recipe—maybe a cheesecake or a batch of bagels—only to realize you’re out of cream cheese? Same here. And since I usually have milk and lemons on hand, I figured it was time to try making it myself.
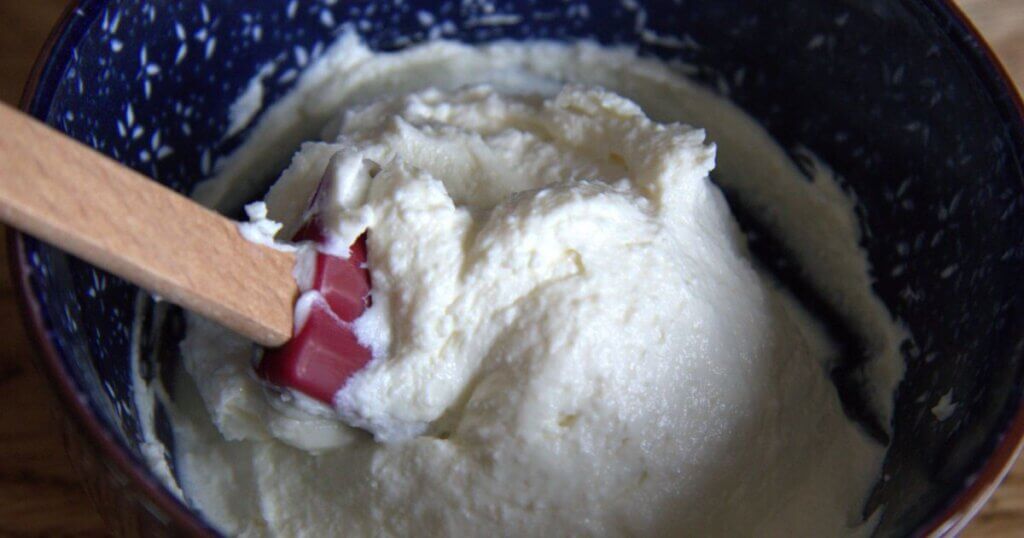
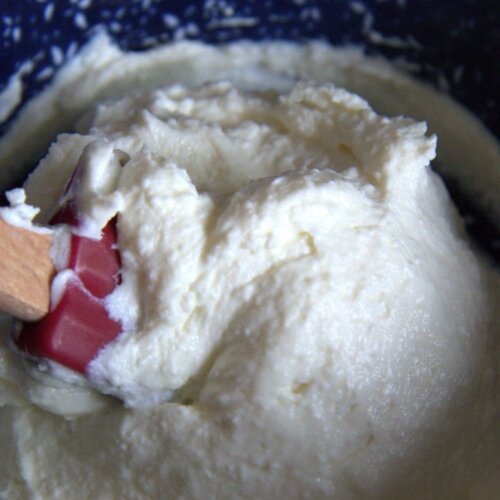
The result? Creamy, tangy, spreadable deliciousness—made with just 2 ingredients and no additives. You don’t need fancy equipment, and the whole process only takes about 30 minutes (depending on how much time you’re straining this homemade cream cheese). It’s simple, satisfying, and you’ll never look at store-bought cream cheese the same way again.
Don’t forget to pin this for later!

What You’ll Love About This Recipe:
Tools You’ll Need To Make Cream Cheese
This post may contain one or more affiliate links, which means I will get a small commission when you buy a product via the provided link at no cost to you! As an Amazon Associate, I earn from qualifying purchases. See my full disclaimer here.
Let’s Talk Ingredients
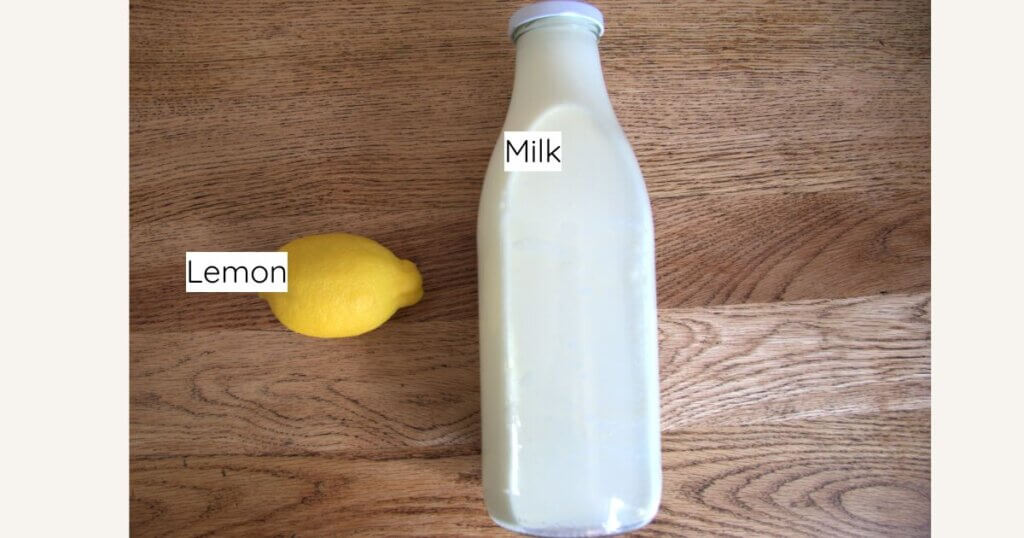
Milk – Use full-fat milk (raw or pasteurized is fine). The higher the fat content, the creamier the end result. Avoid ultra-pasteurized milk—it doesn’t curdle properly.
Lemon Juice – The acidity helps the milk curdle. You could also use white vinegar, but I prefer lemon juice for the subtle flavor.
Optional:
Salt – Adds flavor and helps bring everything together once blended.
Heavy Cream – Just a small spoonful makes the texture extra smooth and rich.
Step-by-Step Instructions
Pour the milk into a medium saucepan and gently heat it over medium heat, stirring occasionally to prevent scorching. Don’t let the milk boil—once it reaches about 175°F to 185°F, turn off the heat.
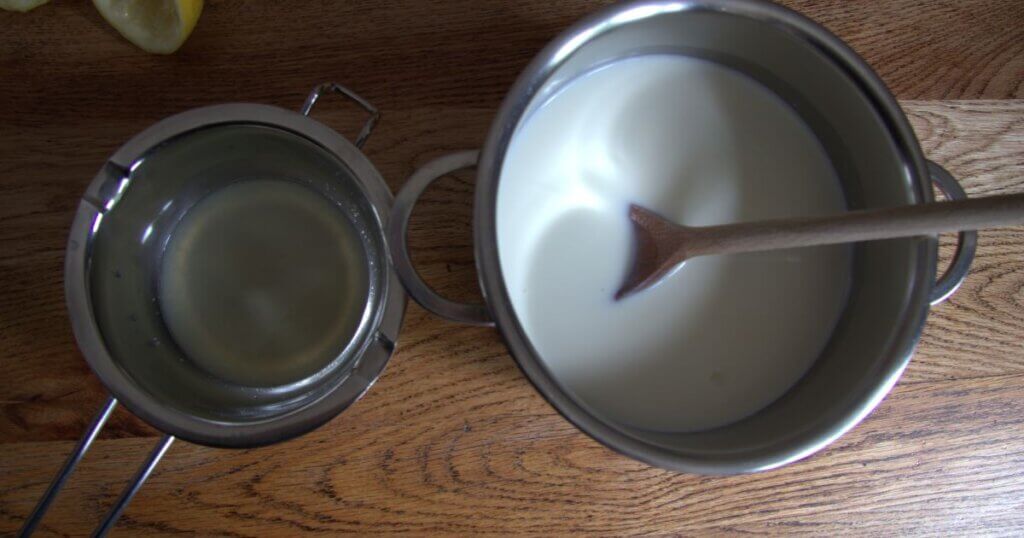
Stir in the lemon juice. You should start to see the milk curdle directly after pouring in the juice. Let it sit undisturbed for about 5 minutes to fully separate into curds and whey.
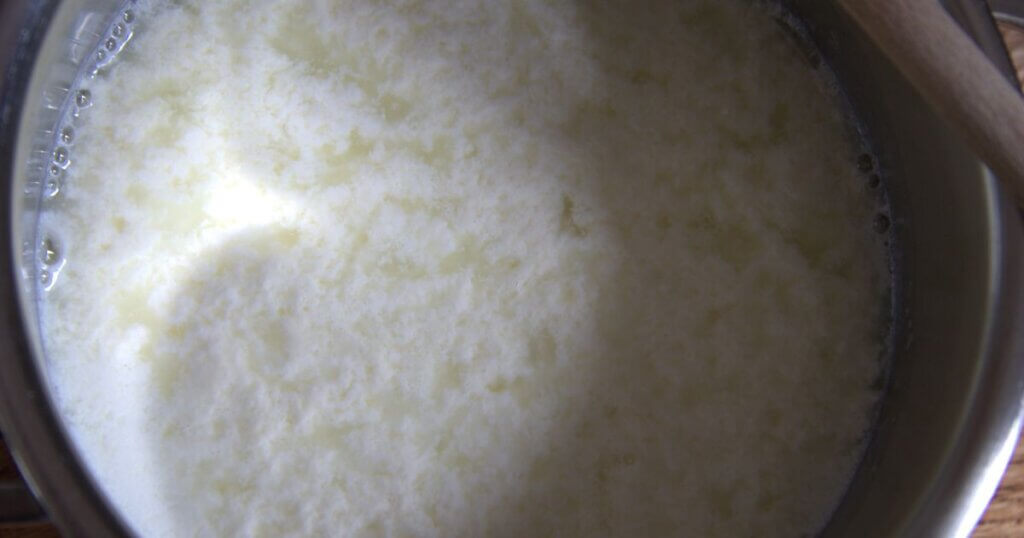
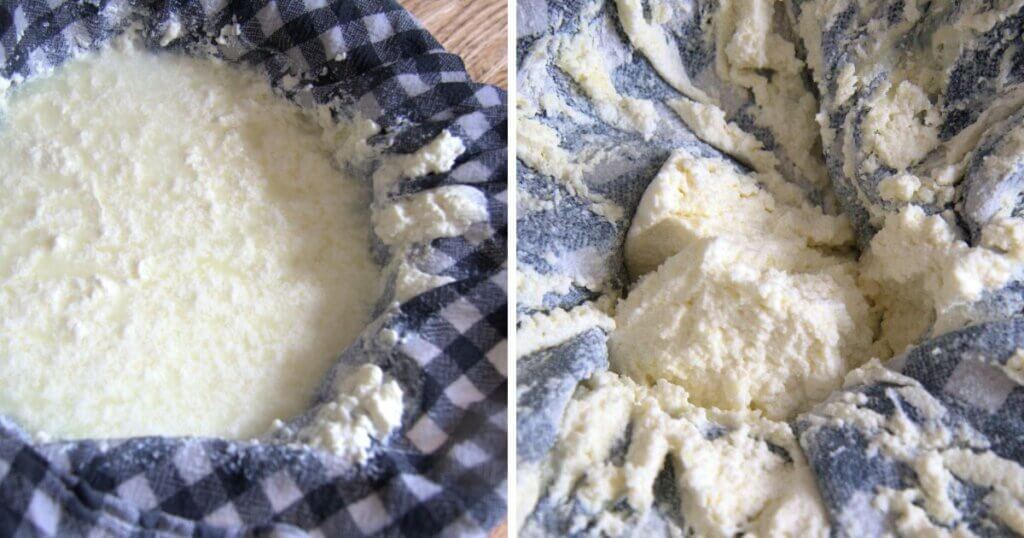
Line a fine mesh strainer with a clean cheesecloth or thin tea towel and place it over a large bowl. Carefully pour the curdled milk into the strainer and let the whey drain off for about 15-30 minutes, depending on how thick you want your cream cheese.
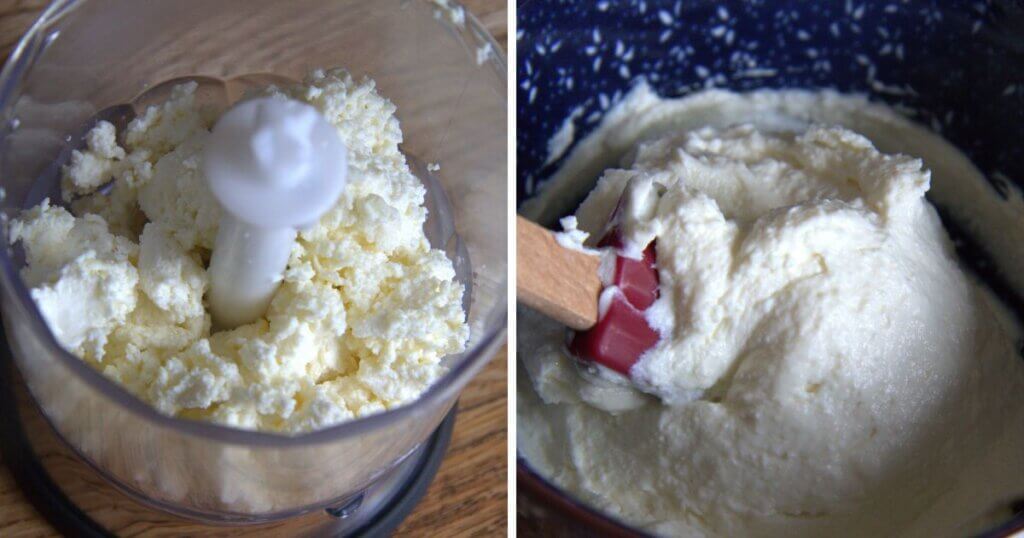
Transfer the curds to a food processor and blend until smooth and creamy. If you’d like, you can add a pinch of salt or mix in fresh herbs, garlic, or a splash of cream for extra richness.
Store your homemade cream cheese in an airtight container in the fridge. It’ll keep for up to one week.
Tips for Success
Use Whole Milk
The higher the fat content, the richer and creamier the final result will be. Skim milk just won’t give you the same texture.
Don’t Skip The Acid
Lemon juice (or vinegar) is what causes the milk to curdle and separate into curds and whey. Without it, your cream cheese won’t form.
Vinegar Works Too
If you’re out of lemons, white vinegar is a great alternative. It works just as well for separating the curds.
Be Patient With Straining
The longer it drains, the thicker your cream cheese will be. For a spreadable texture, 30 minutes is usually enough, but you can go longer if you prefer it firmer.
Notes & Variations
Want It Even Creamier?
You can replace 2 cups of whole milk with 2 cups of heavy cream. That extra bit of fat makes it even more decadent.
Add Some Flavor
This cream cheese is delicious as-is, but feel free to stir in fresh herbs, roasted garlic, honey, salt, or even chopped fruit after blending. A splash of cream at the end will also make it silkier.
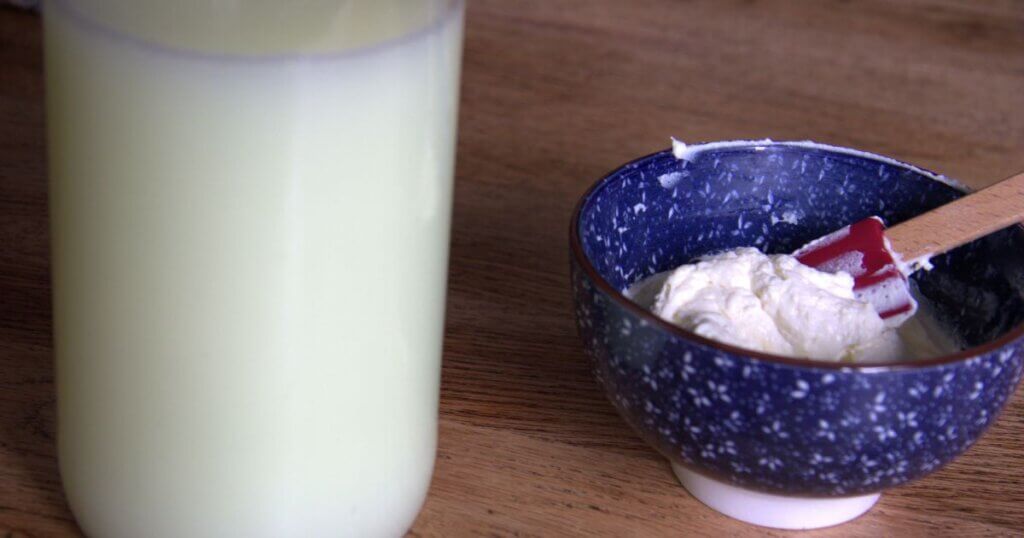
What to Do With the Leftover Whey
Don’t toss that liquid gold! The whey that drains off your cream cheese is packed with protein, vitamins, and live cultures—especially if you used raw milk. It has a slightly tangy flavor and works beautifully in many recipes.
Here are a few ways to use it:
- Add it to smoothies – Just a splash adds extra protein and a subtle tang.
- Use it in baking – Replace water or milk in bread, pancakes, or muffins with whey for extra flavor and tenderness.
- Soak grains or beans – Whey helps break down phytic acid in grains, making them easier to digest.
- Use it as a soup base – Add it to homemade vegetable or potato soup instead of broth.
- Use it to cook your rice or pasta – Add it to the pot to cook rice, pasta, or other grains. It adds a subtle tang and boosts the nutritional value of your dish. Just swap out water for whey when boiling, and cook as you normally would.
Store leftover whey in a sealed jar in the fridge for up to a week, or freeze it in portions for longer storage.
Cream Cheese
Equipment
- 1 medium saucepan
- 1 fine mesh strainer
- 1 tea towel or a cheese cloth
- 1 Large bowl
- 1 spoon or ladle
- 1 blender or food processor optional
Ingredients
- 4 cups of whole milk preferably not ultra-pasteurized
- 1 medium lemon about 2-3 tablespoons
Instructions
- Heat 4 cups of milk in a medium saucepan over medium heat, stirring occasionally to prevent scorching. Once it reaches about 175°F to 185°F, turn off the heat.
- Once the milk is hot, turn off the heat and stir in the juice of one lemon (or 2-3 tablespoons). You should start to see the milk curdle after a minute or two. Let it sit undisturbed for about 5 minutes to fully separate into curds and whey.
- Line a strainer with a cheesecloth or thin tea towel over a large bowl. Carefully pour the curdled milk into the strainer. Let drain for about 30 minutes.
- For a smoother structure, transfer the curds to a food processor and blend until smooth and creamy.
- Store your homemade cream cheese in an airtight container in the fridge. It’ll keep for up to one week.
Notes
Notes
- Want a creamier version? Use 2 cups of heavy cream and 2 cups of whole milk instead of 4 cups of whole milk.
- Try mixing in salt, fresh herbs, garlic, honey, or even chopped fruit for different flavor variations.
- A splash of cream at the end will make the texture even richer.
- Don’t toss the leftover whey! Use it in smoothies, for soaking grains or beans, as a soup base, or in baking recipes.
Tips for Success
Use whole milk – The higher fat content gives you a richer, creamier result.Don’t skip the acid – You need lemon juice (or vinegar) to separate the curds from the whey.
Vinegar works too – If you’re out of lemons, plain white vinegar is a fine substitute.
Be patient with straining – The longer you let it drain, the thicker your cream cheese will be.


